Learn Spring Security
Contents
Verify JWT
As JWT is self-contained with the Subject information to whom the token is issued, we do not need to associate the token with the AppUser record in the database. Because of which we no longer need to identify the user from the database as well. All we need is just to verify the signature using the SecretKey and parse the JWT to construct the Authentication object as authenticated principal.
Let's update TokenVerificationFilter, by replacing the existing logic to identify the AppUser from the database using opaque token, with the below code:
@Override
protected void doFilterInternal(HttpServletRequest request,
            HttpServletResponse response,
            FilterChain filterChain) throws ServletException, IOException {
    String authorizationHeader = request.getHeader(HttpHeaders.AUTHORIZATION);

    if (authorizationHeader != null && authorizationHeader.startsWith("Bearer ")) {
        String accessToken = authorizationHeader.replace("Bearer ", "");
        // Parse JWT using the SecretKey
        Claims claims = Jwts.parserBuilder()
            .setSigningKey(jwtConfig.getSecretKey())
            .build()
            .parseClaimsJws(accessToken)
            .getBody();

        // Check if JWT has expired
        if (claims.getExpiration().after(new Date())) {
            Authentication authentication = UsernamePasswordAuthenticationToken.authenticated(
                    claims.getSubject(), null, this.getAuthorities(claims)
            );
            authenticationFacade.setAuthentication(authentication);
        }
    }

    filterChain.doFilter(request, response);
}

private List<GrantedAuthority> getAuthorities(Claims claims) {
    return ((List<String>) claims.get("authorities")).stream()
        .map(SimpleGrantedAuthority::new)
        .collect(Collectors.toList());
}
Jwts provides another Builder class JwtParserBuilder to build JwtParser object. We are calling parseClaimsJws() method on JwtParser which accepts SecretKey to verify the signature and parse the content of JWT.
Note
You may notice another parser method parseClaimsJwt() in JwtParser. But we are using parseClaimsJws() because signed JWT tokens are called JWS (not JWT), and in our case we want to parse the JWS signed with the SecretKey.
The parsed JWT body has the information we saw earlier in the decoded payload data in the JWT official page. Now instead of identifying the user and his authorities from the database, we can get the same from the JWT payload. But before creating Authentication object form the JWT payload we have to check if the token has expired.
Tidy up and Test
We can remove the token and tokenExpiryTime from the AppUser entity as we are not using it anymore. We can also tidy up some of the code related to opaque token which are no more relevant with JWT.
- Remove invalidateToken() from AuthenticationController and AuthenticationService.
- Remove deleteToken() from UserService.
- Remove pre-authorize condition defined for deleteToken() in SecurityConstants.
- Remove loadUserByToken() from DbUserDetailsService.
- Remove findByTokenAndTokenExpiryTimeGreaterThan() from AppUserRepository.
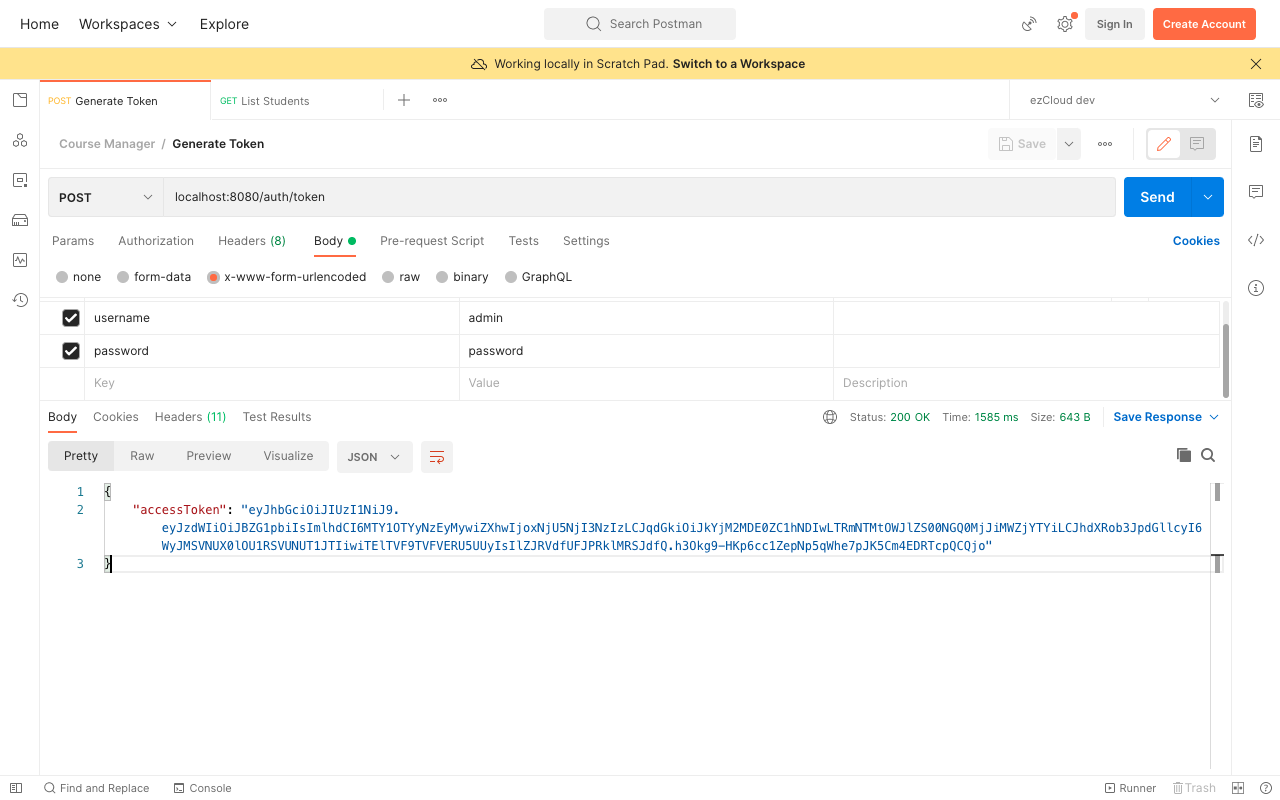
Restart the application and get the JWT generated for Admin user credentials by sending a POST request to GenerateToken API.
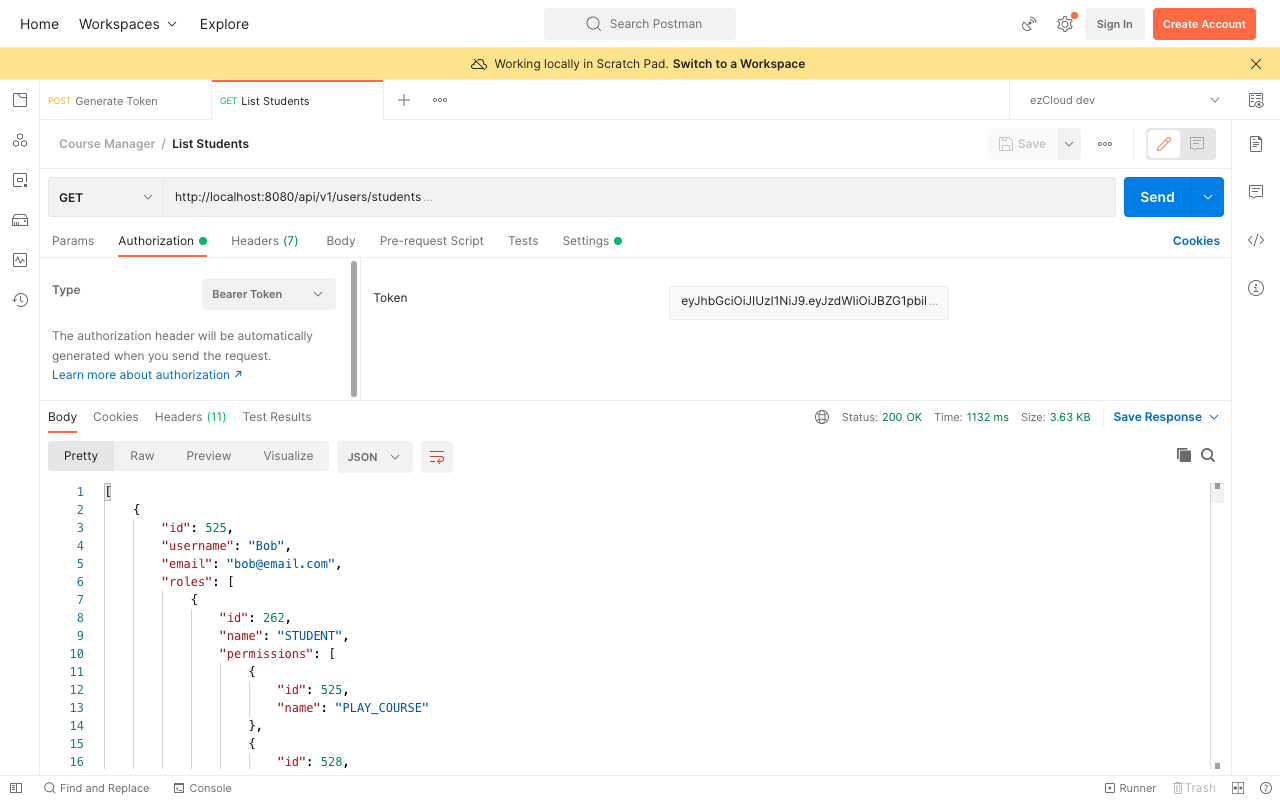
Now choose the Authorization type as Bearer Token, and paste the generated JWT in the Token Field. If we send a GET request to ListStudents API with JWT as the Bearer Token in the Authorization header, TokenVerificationFilter will verify the signature of JWS and parse the content to create Authentication object as an authenticated principal. Rest of the token-based authentication process remains the same as with our opaque token.
Similarly you can test for all the other protected resources for all the users with their respective JWT.
Conclusion
We reached the epic conclusion of this course. I hope you have got a better knowledge on how to secure every layer of an application from the scratch using some of the widely used concepts in Spring Security.
I will update this course constantly as and when we get new releases in Spring Security. Please reach out to me in email for any improvements or additions. My email address is email [at] this website name.