Learn Spring Security
Contents
Verify Token
Assume we have a Single Page Application (SPA) calling our GenerateToken API on behalf of the user with the username and password provided by the user himself. Once the API authenticates and issues the token, the SPA will store the token somewhere to send it back in subsequent requests as a Bearer token in the Authorization header in the format Bearer <TOKEN>.
Bearer token is a security token similar to cash, whoever possess the token can use it in any way the token is intended for. Using a bearer token does not require a bearer to prove the possession of the token. So it must be stored securely and transferred over a secure network.
Find user by token
In order to verify the token, we need to identify the user associated with the token as well as ensure the token is not expired. So we will find the AppUser by token and tokenExpiryTime greater than the current time using standard Spring Data JPA method in AppUserRepository.
@Repository
public interface AppUserRepository extends JpaRepository<AppUser, Long> {
    // Other methods omitted for brevity
    Optional<AppUser> findByTokenAndTokenExpiryTimeGreaterThan(String token, Date currentDate);
}
Similar to loadUserByUsername() we will implement a method in DbUserDetailsService to call the above repository method and return the UserDetails object mapped from the AppUser record. By passing current time along with token we ensure that the AppUser record returned is not only matching the token but also it's tokenExpiryTime is always greater than the current time.
public UserDetails loadUserByToken(String token) throws UsernameNotFoundException {
    AppUser appUser = appUserRepository.findByTokenAndTokenExpiryTimeGreaterThan(token, new Date())
            .orElseThrow(() -> new BadCredentialsException("Provided token is either expired or not found"));

    return User.builder()
        .username(appUser.getUsername())
        .password(appUser.getPassword())
        .authorities(this.getPermissions(appUser.getRoles()))
        .build();
}
TokenVerificationFilter
Before the request reaches the endpoint we have to intercept the request and authenticate the user by the token extracted from the Authorization header. This can be done using standard Spring filter extending OncePerRequestFilter. Let's create the TokenVerficiationFilter component in order to perform the steps mentioned in the comments.
@Component
public class TokenVerificationFilter extends OncePerRequestFilter {
    @Override
    protected void doFilterInternal(HttpServletRequest request, HttpServletResponse response, FilterChain filterChain) throws ServletException, IOException {
        // Extract the token from the Authorization header
        // Identify the user by token using the above loadUserByToken() service method
        // Create Authentication object as authenticated principal
        // Set Authentication in SecurityContext
        filterChain.doFilter(request, response);
    }
}
The format of the Authorization header value will be Bearer <TOKEN>, so we have to remove the prefix Bearer (with a whitespace) to get only the token value. We will use the token to find the UserDetails object from the above loadUserByToken() service method.
Remember we have used UsernamePasswordAuthenticationToken in generateToken() service in order to create Authentication object as an authentication request using username and password. Here we are using the same to create Authentication object as an authenticated principal using username and his authorities retrieved from the UserDetails object. We will then set it in SecurityContext by ourselves to make it available through out the request in order to authorize the user at various layers.
@Component
public class TokenVerificationFilter extends OncePerRequestFilter {
    // Other details omitted for brevity

    @Override
    protected void doFilterInternal(HttpServletRequest request, HttpServletResponse response, FilterChain filterChain) throws ServletException, IOException {
        // Extract the token from the Authorization header
        String authorizationHeader = request.getHeader(HttpHeaders.AUTHORIZATION);

        if (authorizationHeader != null && authorizationHeader.startsWith("Bearer ")) {
            String token = authorizationHeader.replace("Bearer ", "");
            // Identify the user by token using the above loadUserByToken() service method
            UserDetails userDetails = userDetailsService.loadUserByToken(token);

            if (userDetails != null) {
                // Create Authentication object as authenticated principal
                Authentication authentication = UsernamePasswordAuthenticationToken.authenticated(
                        userDetails.getUsername(), null, userDetails.getAuthorities()
                );
                // Set Authentication in SecurityContext
                authenticationFacade.setAuthentication(authentication);
            }
        }

        filterChain.doFilter(request, response);
    }
}
Configure TokenVerficiationFilter
Finally let's configure TokenVerficiationFilter in HttpSecurity configuration to let all the requests pass through it before attempting to authenticate the user with UsernamePasswordAuthenticationFilter.
@Bean
public SecurityFilterChain apiFilterChain(HttpSecurity http) throws Exception {
    http
        .csrf().disable()
        .addFilterBefore(tokenVerificationFilter, UsernamePasswordAuthenticationFilter.class)
        .sessionManagement(
            httpSecuritySessionManagementConfigurer ->
                    httpSecuritySessionManagementConfigurer.sessionCreationPolicy(SessionCreationPolicy.STATELESS)
        )
        .authorizeRequests(auth -> auth
            .antMatchers(POST, API_AUTH_TOKEN).permitAll()
            .antMatchers(GET, PUBLIC_API_LIST).permitAll()
            .anyRequest().authenticated()
        );
    return http.build();
}
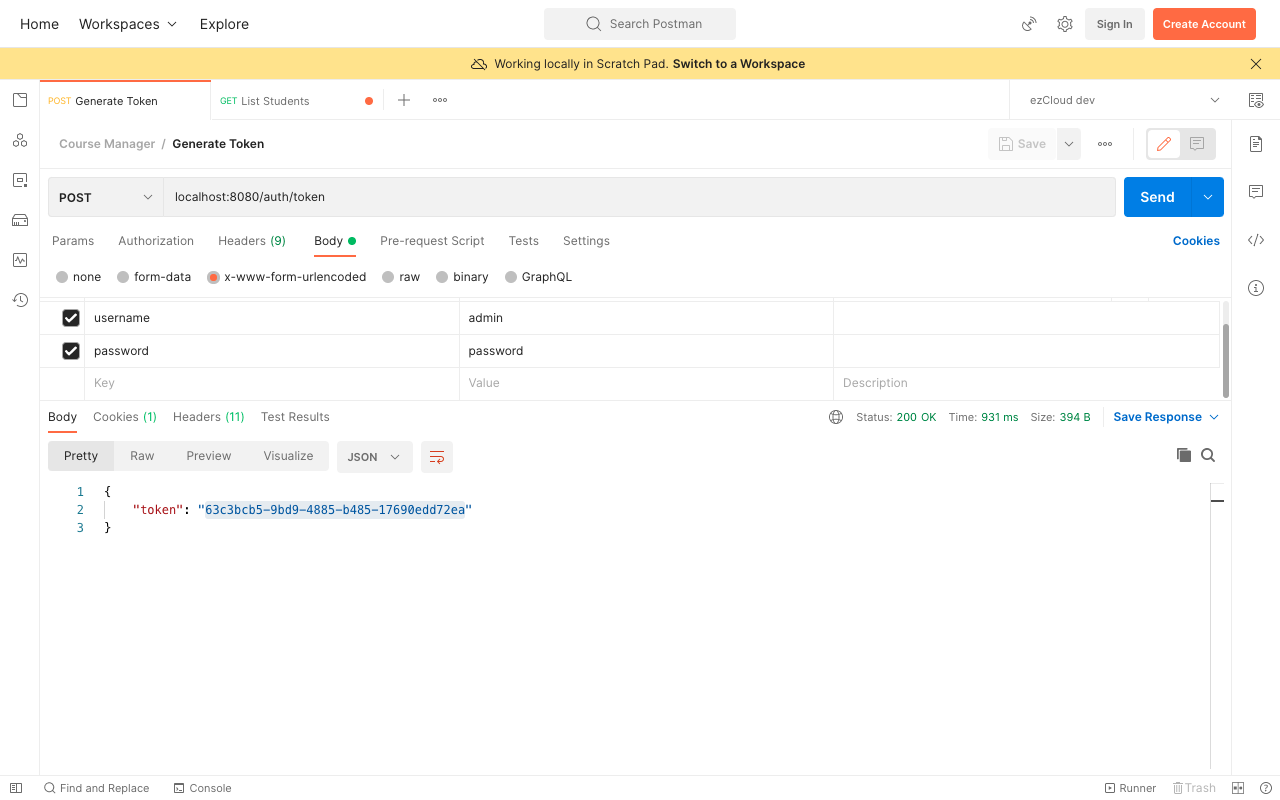
Restart the application and get the token generated for Admin user credentials by sending a POST request to GenerateToken API.
Now choose the Authorization type as Bearer Token, and paste the generated token in the Token Field. If we send a GET request to ListStudents API with the Bearer Token set in the Authorization header, the request will be intercepted by TokenVerificationFilter to authenticate the request by the token. Once the authentication is success the Authentication object is set in SecurityContext for Spring Security to authorize the user in the appropriate layers. And we will get the response back for the authorized user request like below:

Similarly you can test the same for different users and their authorized actions. You can also use the token after it's expiry time to see 403 Forbidden error which then requires you to re-authenticate the user to generate a new token.